Golden hour for photography is the warm, soft, directional light just after sunrise and just before sunset. Its length changes with latitude and season, so confirm times for your location and date with a sun-position app before you go.
New to exposure and white balance? Start with photography basics for beginners, then use this guide to turn golden hour into a repeatable plan for sunrise and for sunset.
Why golden hour light looks the way it does
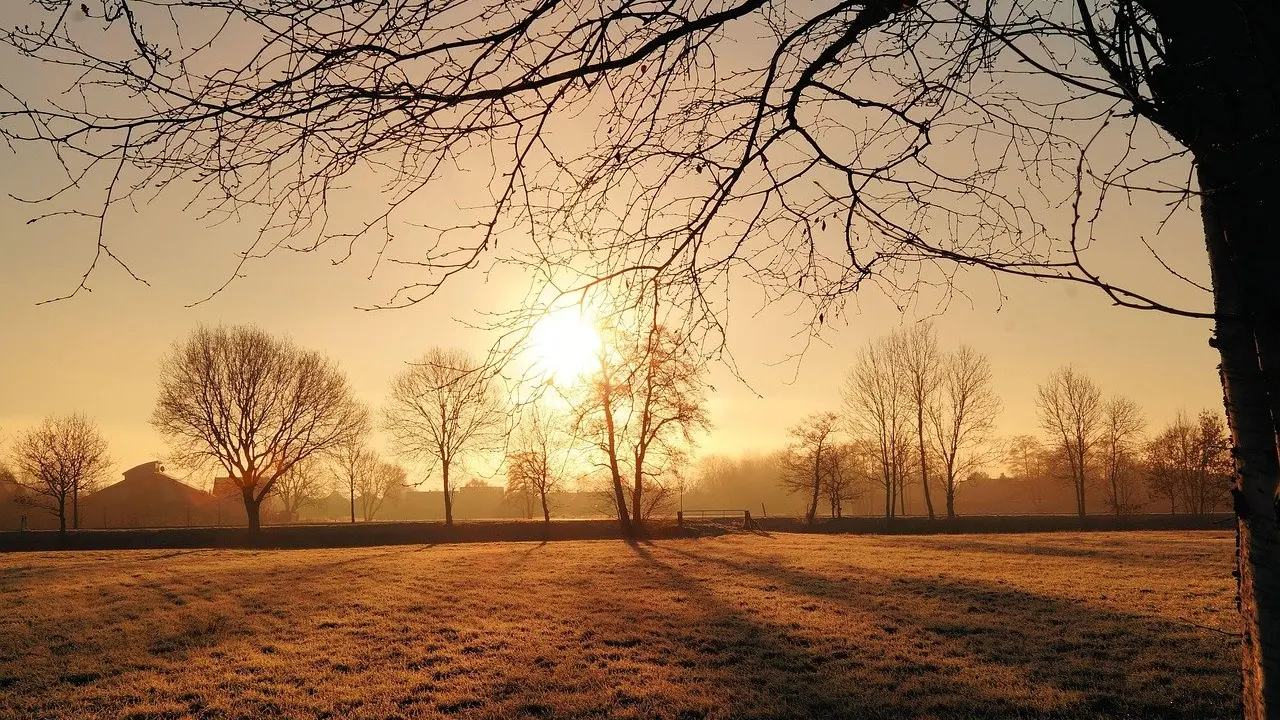
Golden hour is the time shortly after sunrise and just before sunset. Pixpa describes the last hour of light before sunset as the golden hour, and VF Presets describes the time right after sunrise or right before sunset as soft, directional light. 500px sums up the result as warm, glowing light.
Two effects of the low sun produce that look. Sunlight travels through more of the atmosphere, which softens and reduces the intensity of direct light. Along the way the blue light gets filtered out, leaving a reddish, warm colour, as Pixpa explains.
These effects have practical consequences. Softer direct light means shadows are less harsh, so faces and skies are easier to expose than at midday. Because the light is directional, it also shapes your subject. The warm cast has a technical cost, though: it can mislead the camera’s automatic colour settings, which is covered in the settings section below. The window is short, so timing comes first.

When golden hour happens and how long it lasts
The one-hour rule and why it bends
The simple rule of thumb, repeated by PhotoUno, is that golden hour runs about one hour after sunrise and one hour before sunset. Treat that as a planning estimate, not a promise. Pixpa notes that the window varies with latitude and season: it can last as little as 40 minutes in the Tropics and several hours near the Arctic in summer. VF Presets puts the most vivid stretch at only about 20 to 30 minutes before the sun is completely set.
The practical reading is to stay flexible. If you shoot in the tropics, expect a short window and have your first frame composed before it opens. In high-latitude summers you have room to work through several setups. Where sources give different lengths, plan for the shorter figure and treat any extra time as a bonus.
Starting early also helps. Joanna B Photography schedules golden hour portrait sessions starting at the earliest 3 hours before the sun goes down, and warns that the sun goes down so quickly you start struggling to get enough light. Use the early part of a session for the frames that need the most light.
Planning with a sun-position app
Many weather websites list exact sunrise and sunset times for your location, according to Pixpa, and PhotoUno notes that golden hour tools adjust the time to your location. A sun-position app or golden hour calculator is therefore the quickest way to turn the rule of thumb into a real schedule for your date. Follow this sequence:
- Look up the times. Check sunrise or sunset for your exact location and date, then work outward from that moment to the window you want.
- Scout in daylight. Pixpa frames planning as figuring out exactly what time provides the best lighting at your location, so visit the spot beforehand and note where the light will fall.
- Write a shot list. PhotoUno recommends preparing one before the session because it makes you more efficient in a short window.
- Arrive before the window opens. Have your gear ready and your first composition chosen, so none of the good light goes on setup.
Sunrise versus sunset
Sunrise and sunset share the same definition: soft, directional, warm light with the sun low in the sky. The decision between them is mostly about direction and logistics rather than a different quality of light.
PhotoUno advises choosing the east side of your location for morning golden hour and the west side for the afternoon golden hour. Decide which end of the day to shoot by where you want the sun relative to your subject. If a view or building faces west, sunset suits it, and an east-facing subject suits sunrise. For backlighting, stand so that the sun ends up behind the subject.
The two ends also differ in how you manage the clock. At sunset the final stretch goes quickly, so shoot the frames that need the most light first and keep your simplest compositions for last. At sunrise the window opens after dawn, which means scouting and setup should be finished before it begins.
Settings for portraits and landscapes
No single set of camera settings suits every golden hour scene. Three choices make the biggest difference: how you set white balance, how you meter, and how you protect the sky. The table below sets out the decisions for the situations photographers meet most often.
| Situation | Setting or approach | Planning use |
|---|---|---|
| Backlit portrait against a bright sky | Spot metering mode; expose for the subject, which overexposes the background | Choose this when the face matters more than the sky detail |
| Sunset landscape with a large sky | Overexposed skies can be recovered by raising Lightroom’s Dehaze slider to about 5 to 14 | Use as a gentle editing step, not a substitute for careful exposure |
| Warm light confusing the camera | Set white balance manually: a Cloudy preset in camera, or about 6500 K in editing software | Keep the colour consistent across the session |
Figures are drawn from PhotoUno and Joanna B Photography.
White balance
The warm light that makes golden hour attractive often fools the camera’s automatic settings into using an inappropriately cool colour temperature, according to Pixpa. If your automatic frames look flatter and cooler than the scene felt, take control of white balance. Pick one manual value and keep it for the whole session so that every frame matches.
Avoiding blown highlights at sunset
Joanna B Photography reports that whenever she photographs the sky, the image can become overexposed, leaving the subject hard to see. The fix starts with deciding what the frame is about. If it is a person, meter on the subject and accept that the sky will brighten, as in the table. If the sky colour is the point, let the subject fall dark and treat the frame as a silhouette. When a sky-heavy image still looks washed out, the Dehaze adjustment in the table is the supported editing step.
Backlighting, silhouettes and rim light
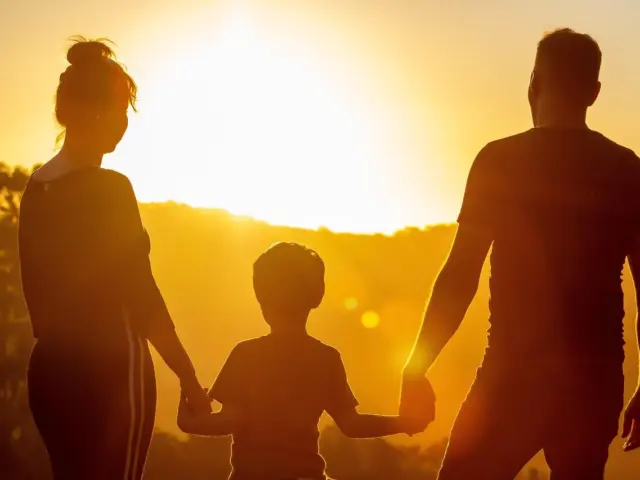
Backlighting means photographing with the sun behind your subject, as PhotoUno puts it. Low golden hour sun makes this practical because the light is gentle enough to place in the frame. It gives you two distinct looks.
- Rim light. When a subject is lit from behind, a rim of light highlights its edges. Meter on the subject, as in the table, so the person keeps detail while the edges glow.
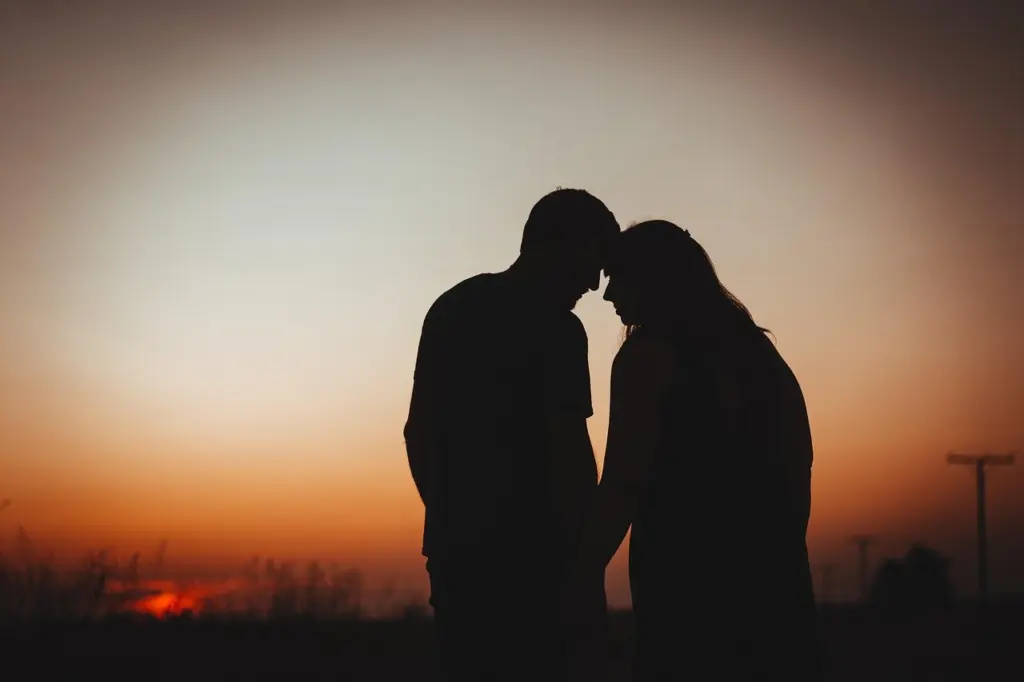
- Silhouette. Pixpa defines silhouettes as dark, underexposed subjects set in front of a light source. Here you expose for the bright background and let the subject go dark, so choose a subject with a clear, recognisable outline.
Decide which look you want before you press the shutter, because the metering choice for each is opposite.
Where to take it next
Once the timing and exposure routine feel familiar, apply the same warm light to specific subjects. Seasonal portrait ideas fit well with low light, and 30 Festive Christmas Photoshoot Ideas To Capture Holiday Magic In 2026 shows how to build a themed session. If you are pointing the camera at animals instead, How To Photograph Wildlife: Practical Tips For Better Shots In 2026 covers subject-specific technique that you can combine with the timing here.
Frequently asked questions
How do I fill shadows on a backlit face?
Use a reflector. Joanna B Photography says it can bounce the diffused sunlight onto the subject to reduce unflattering shadows.
Should I shoot RAW or JPEG at golden hour?
RAW gives you the flexibility to set white balance afterwards, according to PhotoUno on golden hour photography tips. With JPEG, set it in camera before you shoot.
Can I measure the colour of the light?
Yes. According to Pixpa, a light meter can give you the temperature of the ambient light at your location, measured in Kelvin.